Because I write a food/recipe blog, people believe I’m an
expert. One question I’m often asked is
“What is the difference between stuffing and dressing.” This one is easy. The only difference between
the two is how they are cooked. If you
cook the mixture in the cavity of the poultry, it’s stuffing. If it’s prepared outside of the bird, then
the proper name is dressing. But go
south of the Mason-Dixon line and everyone calls it dressing, regardless of its
preparation, citing the term “stuffing” as unpleasant sounding.
Each
year, as Thanksgiving approaches, I get requests for my recipe for
Cornbread Dressing. Although I have shared
it with many, I hesitated to post it. I was embarrassed to admit that
the base of my dressing comes from a store-bought bag from the grocery store.
Having tried so many recipes, I always stick with the tried and true "store bag." Since everything is cooked before putting it in the casserole dish, feel free to prepare the mixture a day or two in advance and keep it in the refrigerator.

On Thanksgiving Day, bring to room temperature and put it in
the oven when you remove the turkey. By
the time your turkey is rested and sliced, the dressing will be warm and ready to serve.
For those of you who are new to my blog,
there are several recipes I previously posted you may want to add to your
Thanksgiving Menu. If you typically serve soup at the beginning of the
meal, try the Pumpkin Soup or Autumn Squash Soup.
Instead of mashed
potatoes or candied yams, try Mashed Sweet Potatoes, for Pumpkin Risotto with Goat Cheese
and Dried Cranberries or better yet, Praline Sweet Potatoes which can be made a day in
advance. Actually, the Praline Sweet Potatoes taste even better as
part of your Black Friday leftover lineup.
Corn is always on our
Thanksgiving table. Creamed Corn and Corn Soufflé are the most requested.
If
you typically serve biscuits on Thanksgiving, try these Corn Muffins.
Although they are lightly sweetened, even the diehard southerners who
would never eat cornbread with sugar find themselves coming back for
another.
Finally, Pumpkin Spice Cookies and Pumpkin Mousse are light addition that fits well
into my dessert table staples of pecan and fruit pies.

Ingredients:
§
4 tablespoon (1/2 stick) butter
§
1 tablespoon vegetable oil
(adding oil will prevent butter from burning)
§
1 medium onion, chopped finely
§
4 stalks of celery, chopped finely
§
1 small container of fresh
mushrooms or 1 can of mushrooms roughly chopped
§
1 14-ounce bag of Cornbread
Stuffing
§
2 - 3 cups chicken broth
§
1 15ounce can of whole kernel
corn (drained)
§
1 cup of dried cranberries
§
Salt and pepper to taste
Directions:
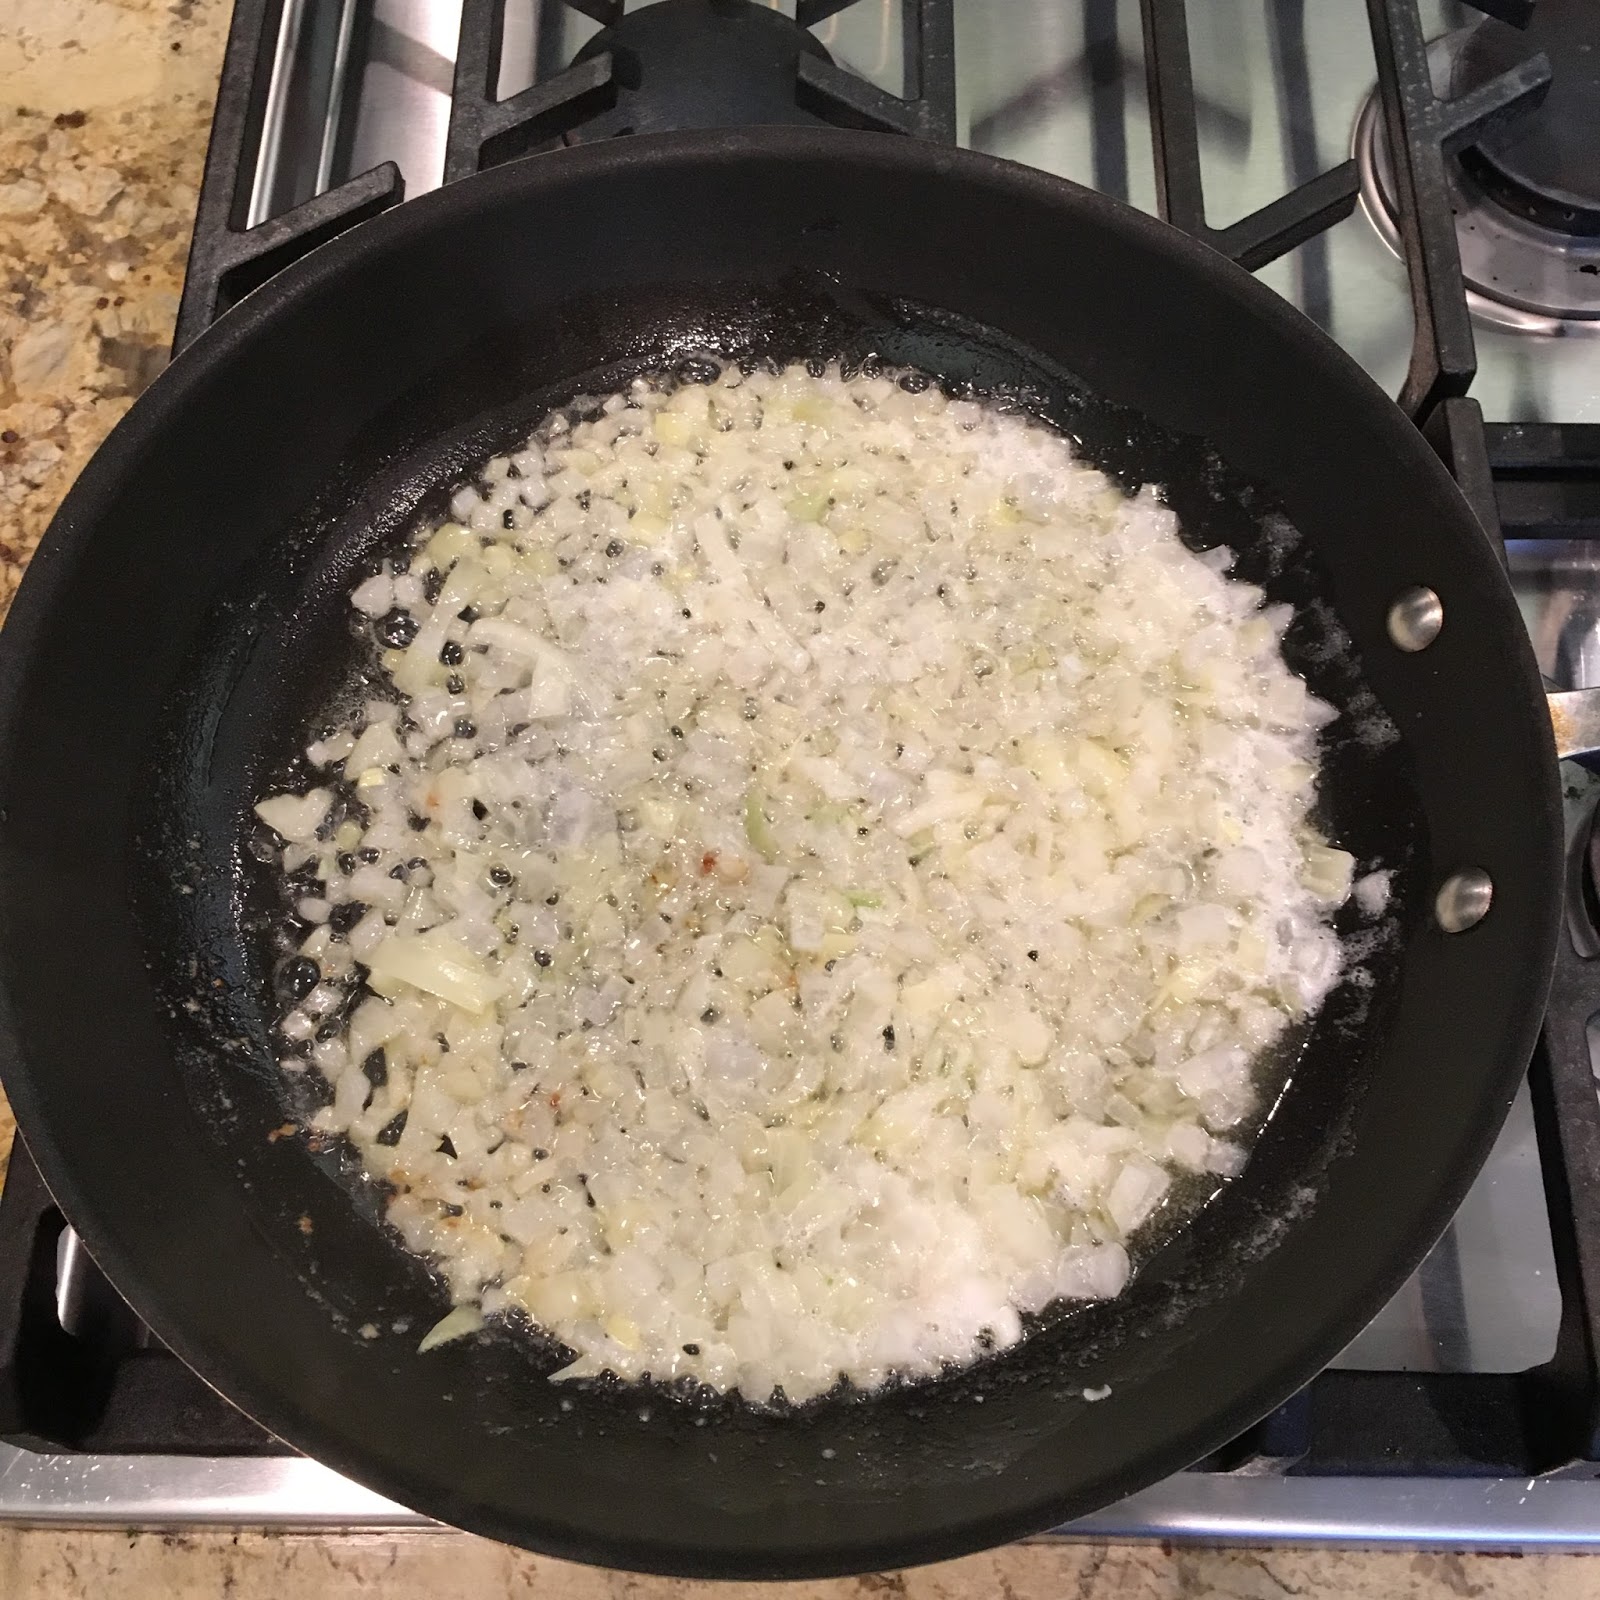
In a large
sauté pan, heat butter until melted. Add
a tablespoon of vegetable oil to the butter to prevent burning.
Add the chopped onion and sauté just until
the onions are translucent, approximately 3 to 4 minutes. Add the celery and
stir. Sauté for an additional 2 to 3
minutes, stirring occasionally.
Add the
fresh mushrooms and 1 teaspoon of salt. Add pepper to taste. If using fresh mushrooms, sauté for an
additional 2 to 3 minutes, mixing occasionally.
If using canned mushrooms, sauté until heated, 1 to 2 minutes.
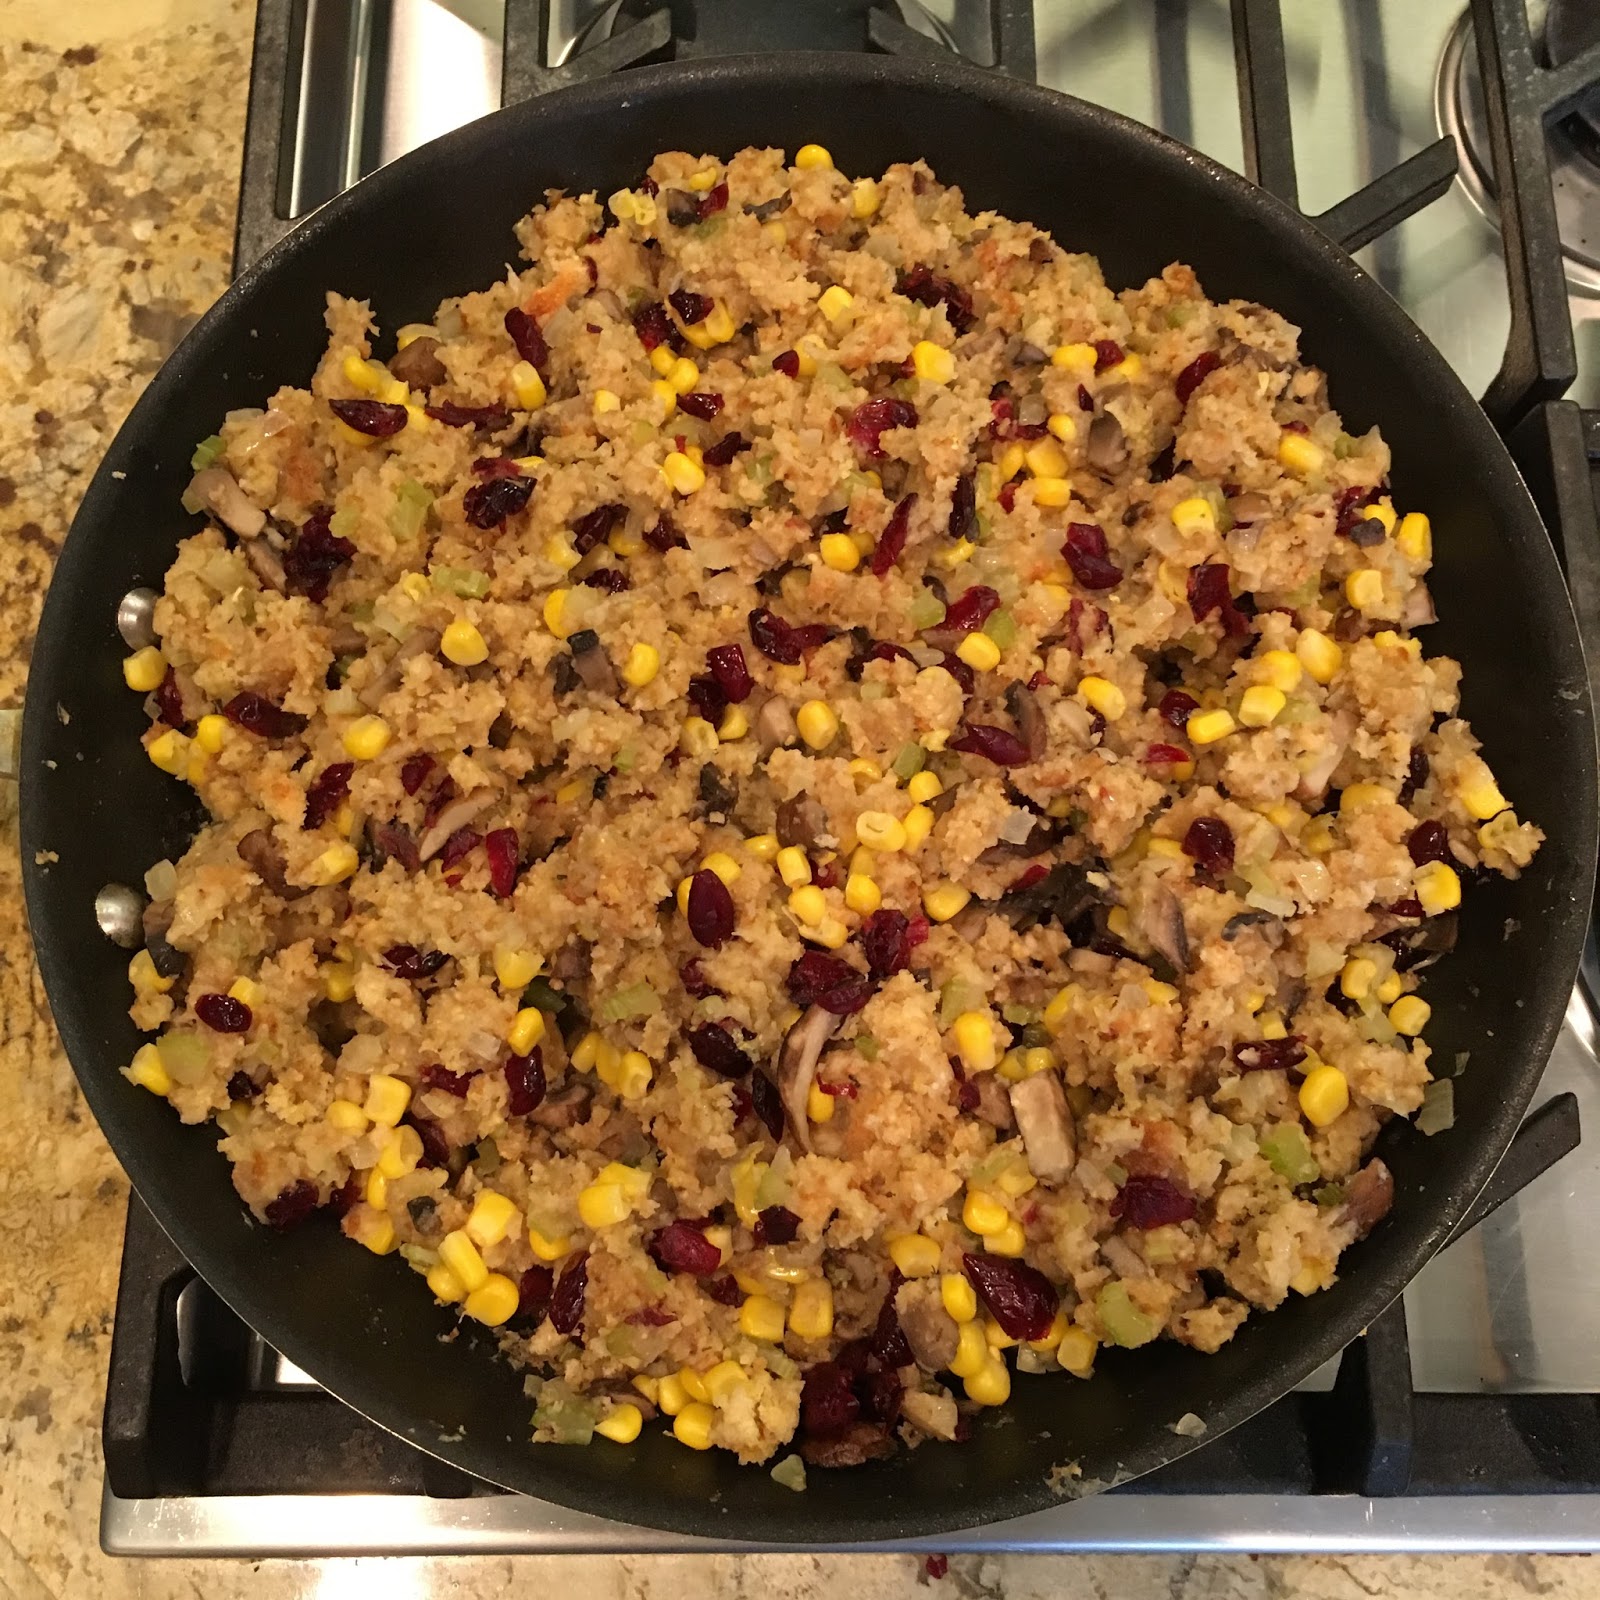
Add contents of the Cornbread Stuffing mix
and 2 cups of chicken broth. Add
additional chicken broth until you get the consistency you prefer. I like my dressing moist so I use additional broth. Mix lightly.
Add the can of whole kernel corn (drained) and cup of dried cranberries
and mix lightly. Serve warm.
If you are preparing the Cornbread Dressing
in advance, spray a casserole or baking dish with non-stick cooking spray, add
the cornbread mixture and cool before covering and placing in the refrigerator. To reheat and serve, preheat the oven to 350
degrees. Remove from refrigerator and bring to room temperature.
Cover with foil and bake for 30 minutes. (If
you do not bring to room temperature prior to baking, bake for 45 minutes) For a crisp top, bake uncovered for the final
15 minutes. Serve warm. For a printer friendly copy of this recipe go to Cornbread Dressing. Enjoy!